This article gives step by step instructions on how to plant alpines in a trough or container and suggested easy to grow alpines to try.
Alpine troughs are perfect containers to let your garden design skills run riot, but in a small space. Alpines are small, pretty and above all diverse. If you like designing but don’t have much space, alpines are a perfect set of plants to experiment with creative combinations.
Once you’ve understood what alpines need and why, you will also find them easy to look after. Any container can be used, as long as drainage is good.
Step by step guide to planting up an alpine trough
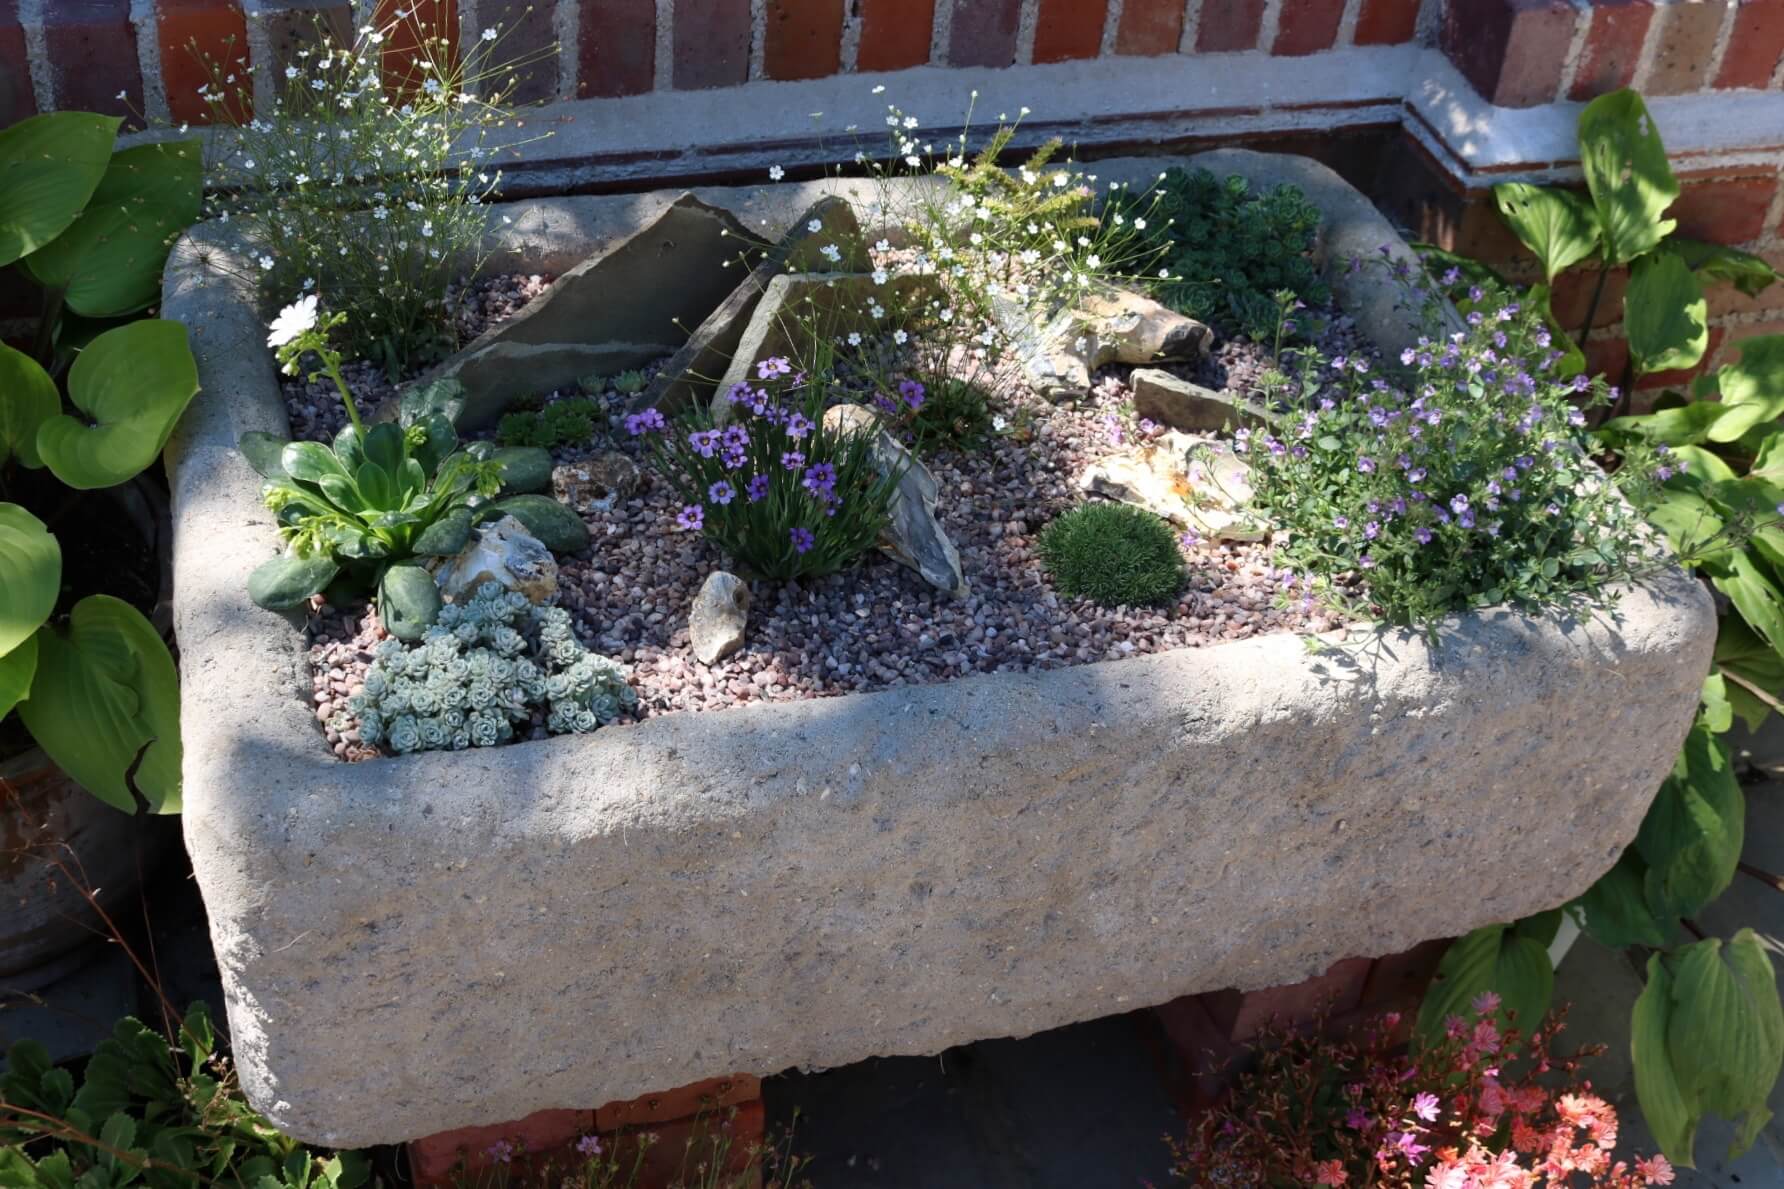
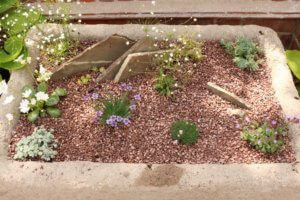
Stone troughs are a traditional and attractive way to display alpines but are expensive to buy. This one I made by covering an old chipped Belfast sink in an artificial stone mix, and it was very easy to do. If you’re interested to know how to do this, click here to read a step by step guide. If you choose a different container, the steps described below are still applicable.
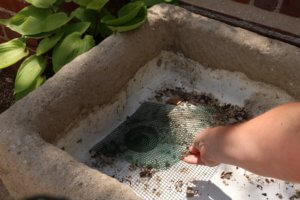
- Cover your drainage hole – most troughs or containers will have a drainage hole. If not it will not be suitable for use with alpines as it could fill up over the winter months and alpines generally don’t like having wet feet. By covering your drainage hole, you will prevent any soil from being washed away, whilst still allowing water to drain away. You could use broken pots for this purpose. I used a small piece of plastic mesh left over from mending some fruit nets. I am told that Vine Weevils can crawl up into alpine troughs and their grubs can cause considerable root damage. Mesh prevents weevils from crawling up into the root space.
- Provide additional drainage – This trough is too deep, so I needed to raise the growing platform. The alpines do not need a deep soil run, used as they are to thin alpine soils. I could have filled the trough with compost but this would have been wasteful and also heavy to move. I chose to fill the trough to half way up it’s sides with lightweight clay balls.
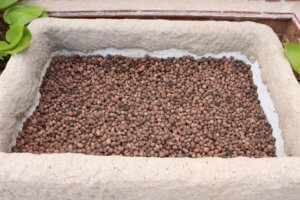 These improve drainage by allowing water to percolate away faster than through compost. I was lucky to have a bag of this left over from my greenhouse benching or it can be bought for around £15 for a 45L bag. A fantastic alternative to these would be broken up polystyrene plant trays as these too provide a lightweight drainage layer and reuse a non-recyclable product. If the trough is already in situ and you know you won’t need to move it, a thick layer of gravel could also be used.
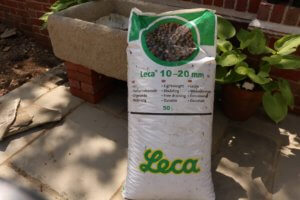
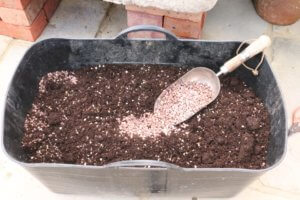
- Next I mixed my planting medium. As alpines need good drainage, compost needs to be mixed with a substance which will help water to percolate away from the plant roots, such as horticultural grit, perlite or sand. I admit I didn’t follow a recipe for this and my medium is broadly 1 part multipurpose compost to 1 part horticultural grit.
- I filled the trough up to a few centimetres below my desired finished soil level.
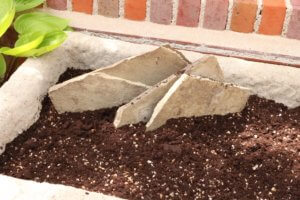
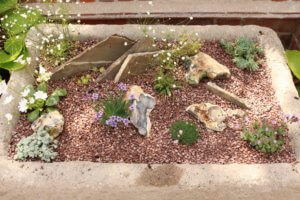
- To help create a crevice environment in the trough, reminiscent of shattered mountain rocks, I arranged thin stones on their sides in a line of three. These were from a broken stone paving slab, which I shattered further by throwing it onto a hard surface. The stone then broke along natural weak fault-lines.
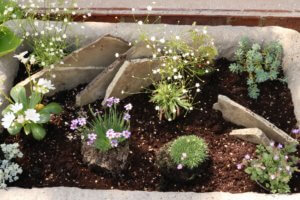
- I then arranged my plants where I wanted them to go, knocking them out of their pots and nestling them into position but so that they still stood proud of the compost level. Of course, not all the pots were the same size or depth so I took care to try and arrange them with a consistent level. Once I was happy with the arrangement I added more compost carefully around them and gently firmed them in position. For ease you could also fill the compost to your desired level and simply make planting holes in the compost with a trowel. Whichever method you use try and pay attention to trying to create a flat surface.
- Alpines like to have their crowns dry. Mulching the entire surface of your trough with a top dressing helps to achieve this, as well as preventing soil splash in heavy rain. A top dressing also shows the plants off in the same way mounting photographs or paintings does. I used horticultural grit for mine. This comes in various sizes and colours. You could also use pebbles or indeed small bark chippings.
- I then planted some small sempervivum rosettes between the stone crevices. These rosettes I had propagated in early spring by pulling a few small baby rosettes from around the edge of a larger plant I had bought.
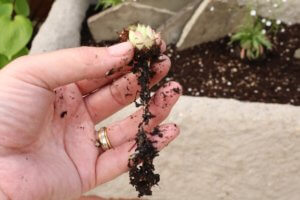 These offsets are a great way of expanding your alpine collection at no cost. As these are small, they are ideal for planting into small nooks and crannies. If you do buy a sempervivum consider splitting it. To plant these I poked a hole straight into the gravel with a pencil and nestled the roots into the hole.
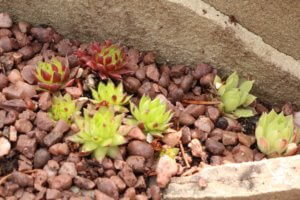
Planting list
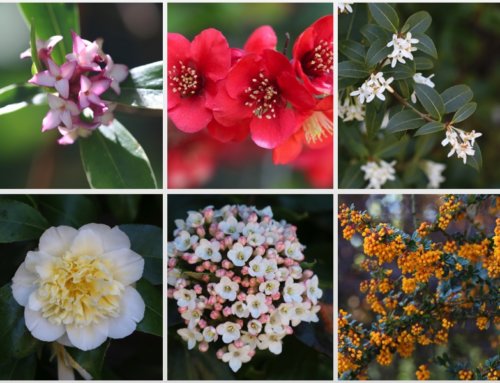
I chose plants in muted tones of purple and white but alpines are available in a wide range of bright colours too so it’s worth checking the labels of your plants when shopping and thinking about what colour schemes will work for you.
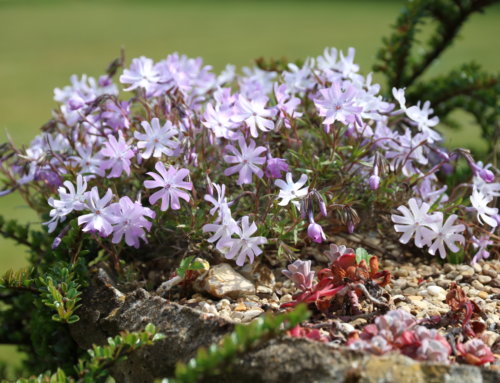
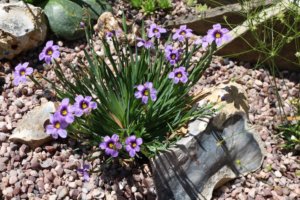 Sisyrinchium ‘E. K. Balls’ – this tiny Sisyrinchium has flowers in a very pretty mauve, which open in the sunshine and close themselves up in the evening. It looks particularly good alongside this the grey tones of this broken flint.
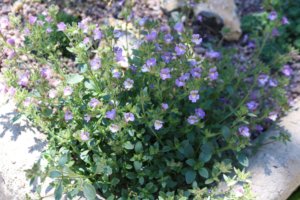 Chaenorhinum origanifolium ‘Blue Dreams’ – another purple variety with small violet flowers and yellow throats. This will spread and cascade slightly over the edge of the pot and has abundant flowers
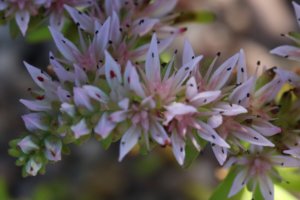 Sedum pulchellum ‘Seastar’ – this sedum has an unusual habit, sending up arched succulent fronds covered in tiny starry white or pink flowers
 Androsace septentrionalis ‘Stardust’ – this stunner is my favourite in this trough, sending up multi-headed wiry stems smothered in tiny white flowers, reminiscent of a Bonfire night sparkler.
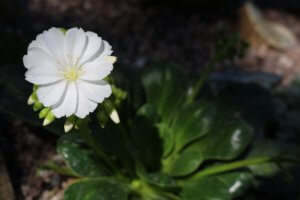 Lewisia cotyledon ‘Elise’ – this variety comes in a wide range of colours from shocking pink, through orange to the one I chose here – pure white. The flowers emerge from under the sides of glossy green rosettes. Fading flowers should be deadheaded.
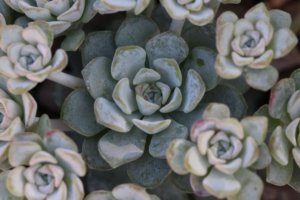 Sedum spathulifolium ‘Cape Blanco’ – if you like grey tones this is a fantastic sedum to choose. White-tinged grey rosettes spread slowly to form a succulent carpet. Flowers are yellow.
Armeria caespitosia – a slow growing evergreen hummock from which pale pink miniature globe-shaed flowers will appear. A relative of the common seaside plant – thrift.
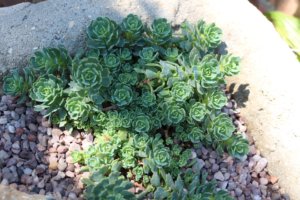 Sedum pachyclados – another grey sedum but this time bluey-grey with rosettes of a slightly serrated appearance. Spreads quickly and has white star-shaped flowers.
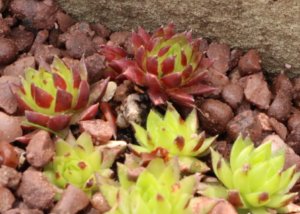 Sempervivum – this was an offset from an unknown variety. Many garden centres may not label these with specific varieties, although buying from an alpine nursery you are likely to get good information on variety name.
If you want to learn more about growing alpines visit a specialist alpine nursery or look at the informative website of the Alpine Garden Society.
Thank you so much for inspiring me to rejuvenate my troughs which were, quite frankly a disgrace. Still plenty of room for new purchases but definitely a great improvement on the “before”.
Great information. Thanks
I would never have imagined I could get such great advice. Thank you
M Roberts
It’s lovely to have such great feedback. Thanks so much.
Brilliant advice! Thank you … I now know exactly how to plant up the little alpines I bought today
I’m glad you found it useful and I’m wishing you good luck with your trough. I think they’re attractive additions to any garden and alpines are so varied they’re good fun to design with.
great article thanks, could i use old clay roof tiles to create the crevices?
Yes you could – that could look really great!
Wow thank you. I keep replanting flowers every year and I now feel I would like something different. I have chosen alpines and your info is a great inspiration. I shall be off to the garden centre soon.
I am going to use an old stone bird bath which has become slightly eroded over the years.
I think your advice will transform it. Thankyou.
That sounds wonderful. I’m sure it’ll be a fund project and will look great.
I have a beautiful stone container on a pedestal which I had planted up with alpines a couple of years ago. My problem was maintaining it. Certain plants took over and obscured the others, lots of little weed seedlings became embedded and grew under the alpines and it all looked a mess in no time. I have discarded everything and want to start again but do I just remove anything that gets too big, or what?
Plants do inevitable grow at different rates and many alpines have a spreading habit. I do remove plants if they get smothered and also cut back and shape those that spread too much. I find maintenance part of the joy of gardening!
we have an allotment and one of our neighbours gave us a large ceramic sink which has a good size drainage hole. Your article is very helpful. Our local garden center has alpines, it’ll be great fun choosing and planting up.
This is a great idea! Is there anything dangerous about using a stainless steel sink? I have one of those but not anything ceramic or stone.
Metal sinks absorb heat more than ceramic or stone which can damage roots in very hot weather. Probably best avoided unless you can keep it somewhere shady – which in turn may affect your plant choices…